Night Haul Complete Walkthrough: Three Roads, Sixteen Checkpoints and the Time Budget for Every Leg
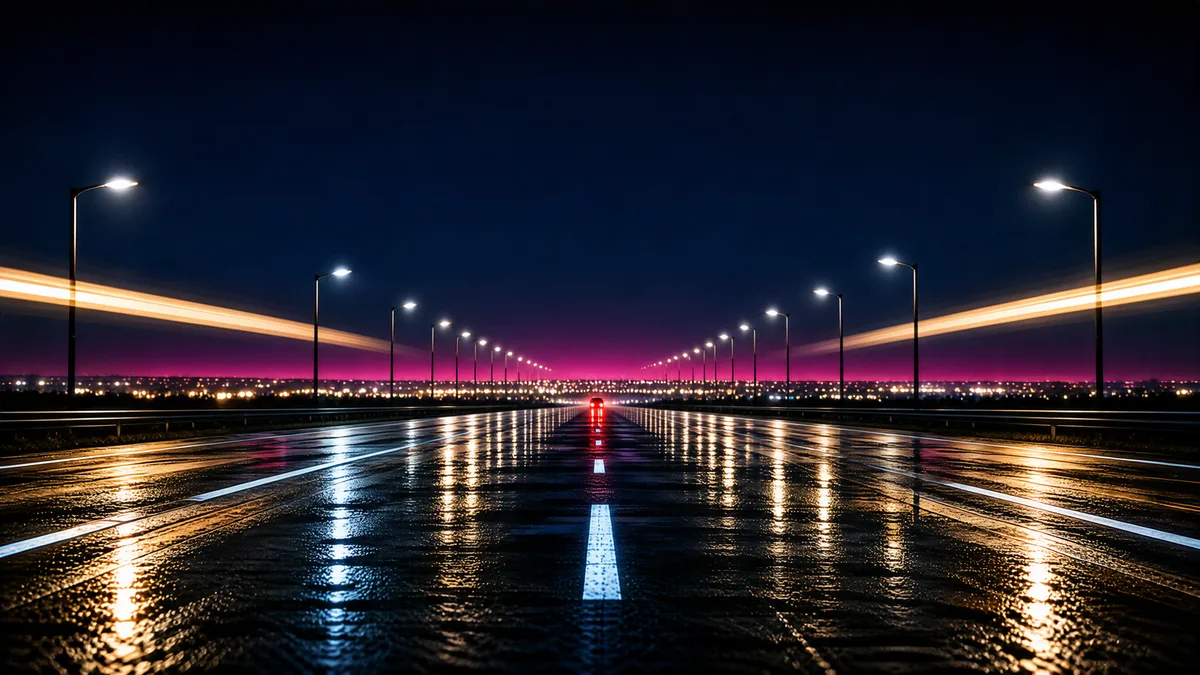
What this covers: the pace for every leg of all three roads, what to do around each of the four checkpoints, where a nitro charge belongs, how to recover in the seconds after a contact, and the order in which to chase a fastest time. There is no story to spoil here, only driving.
The game runs at https://yexing.gamestrategists.com/ and the hub page is at https://gamestrategists.com/games/yexing/. Every figure below can be read off the screen: a 36-second start, +20 per checkpoint, 30.0 km per road, checkpoints at 16% / 36% / 58% / 80%, 18 cars, three nitro charges.
One: four things to hold on to
- A run is one road, not an endless run. Cover 30 km and you arrive; let the clock hit zero and the run is settled where you stopped. Arriving records a time; being collected only reports how far you got.
- Only checkpoints give time, 20 seconds each, and they refill all three charges. Nothing else adds a second.
- There are two speeds: 240 km/h cruising, 320 km/h on nitro. Off the throttle you fall back to 150, off the road you are pushed down to 95, and a crash cuts you to 45% of whatever you were doing.
- A crash does not end the run. It only hands time back, so do not panic-restart unless you have already written the run off.
Two: how 116 seconds is spent over 30 km
This is the table worth learning first. Thirty kilometres at a steady 240 km/h takes about 81 seconds, and the clock can give you at most 36 + 20 × 4 = 116. That leaves 35 seconds of tolerance, and three things eat it: the shoulder, contacts, and a charge spent in a corner.
| Point | Distance | At 240 km/h | Clock after the checkpoint (clean run) |
|---|---|---|---|
| Start | 0 km | 0 s | 36 s |
| Checkpoint 1 | 4.8 km | about 13 s | about 23 + 20 = 43 s |
| Checkpoint 2 | 10.8 km | about 29 s | about 27 + 20 = 47 s |
| Checkpoint 3 | 17.4 km | about 47 s | about 29 + 20 = 49 s |
| Checkpoint 4 | 24.0 km | about 65 s | about 31 + 20 = 51 s |
| Finish | 30.0 km | about 81 s | about 35 s |
Those remainders assume a clean run at 240 throughout. If you reach the last checkpoint with more than thirty seconds in hand, the run was tidy; if you arrive with twelve, something cost you two separate speed losses. The clock is the best self-diagnosis this game has — it tells you where you drove badly without a replay.
Three: the three moves before a corner
Everything else grows out of these:
- Lift. Come off the throttle before turn-in. Arriving at 240, the outward pull walks you onto the outside shoulder; lift to around 200 and the push shrinks immediately.
- Place. Put the car on the inside of the bend, and do it early. Turning once you are already in the corner is a tug of war you lose.
- Power. Get back on the throttle past the apex, when the nose is already pointed at the exit. That is the only part of a corner that is free.
The most expensive habit is sawing at the wheel mid-corner: the car weaves, speed bleeds away, and you have to rebuild it on the way out. Losing half a car length at turn-in is cheaper than fighting the wheel at the apex.
Know what the shoulder costs. Running wide drops you to about 95 km/h, shakes the frame, and forces a fresh acceleration once you are back on the tarmac; climbing from 95 to 240 takes several seconds. One long corner spent on the shoulder usually costs more than one crash, because a crash takes speed once while a shoulder takes it continuously.
Four: the pace of each road
Corner sequences are fixed, so a road is the same every time you open it and can be learned. The plan below is organised by checkpoint rather than by corner number: individual corners differ, but the work between two checkpoints does not.
City: the densest corners, and the place to learn
Blocks and billboards sit along the horizon, corner spacing is the shortest and the strings of corners are the longest. Start here.
- 0 → checkpoint 1 (4.8 km): do not rush to spend a charge. Corners are packed here, and a charge in a corner is a charge into the rail. Hold 240 and get the three moves clean.
- After checkpoint 1: the refill is in, so this is a good place for the first charge — find a straight where you can see the end of it, and spend it so the second and a half carries you to the next corner.
- Checkpoint 2 → 3: the hardest stretch on this road. Chained corners bleed speed continuously. The goal here is not speed but staying off the shoulder: 210 through a corner beats 240 into it and 95 out of it.
- Checkpoint 3 → 4: usually a longer straight follows, and this is where one or two charges belong.
- Checkpoint 4 → finish (24 → 30 km): 6 km, about 16 seconds. You should still have thirty seconds or more; if you are down to twelve, do not gamble, just bring it home and bank a time.
Coast: the most elevation, and a horizon that hides things
Coast has the biggest climbs, and a crest can hide the next hundred metres, which is where traffic appears from. The palette runs cold teal and the horizon flattens to a single lit line.
- 0 → checkpoint 1: on a climb your view shortens. As soon as you see a crest, ease off. The rule here is never hold full throttle over a blind crest — you do not know what is on the other side.
- Checkpoint 1 → 2: descents let speed build on their own, which makes this the best place for a charge: downhill plus nitro buys close to a kilometre of distance on the clock.
- Checkpoint 2 → 3: the middle is the hilliest part. Learn landmarks — "the checkpoint is just past this crest" — rather than counting corners.
- Checkpoint 3 → 4: this stretch usually opens into a long downhill straight. Save the charges for it.
- Checkpoint 4 → finish: the last 6 km. If you still hold two charges or more, spend them; unused charges do not convert into time at the finish.
Ridge: the sharpest corners, the narrowest shoulders, the most expensive crash
Angular peaks line the horizon and the guardrail sits against your door. This road punishes sloppy execution hardest.
- 0 → checkpoint 1: start conservatively, taking corners around 200. The shoulder is narrow, so running wide is effectively a forced slowdown.
- Checkpoint 1 → 2: the corners are long. The lift has to come earlier — typically as soon as you can see the apex.
- Checkpoint 2 → 3: the sharpest run of corners on the road. Do not spend a single charge here; the outward pull at 320 km/h is the strongest in the game.
- Checkpoint 3 → 4: if you have not crashed, the clock is comfortable by now. Comfortable means save the charges rather than spend them early.
- Checkpoint 4 → finish: the last stretch usually runs downhill out of the mountains. Empty the charges here — it is the only window Ridge gives you for a fast time.
Five: five charges, three ways to waste them
Charges available in a run = the three you start with, plus one refill per checkpoint cleared. A full run therefore tops out at seven, and five or six is typical. They never regenerate on their own. Leaving one unspent keeps it; spending one early costs you a charge for the rest of the run.
Three wastes, ordered by how often they happen:
- Mid-corner. The most common. Speed plus outward pull puts you on the rail, and the second and a half is gone for nothing.
- Right after a checkpoint. Traffic does not clear when you take one; the same queue is still ahead. Charging out of a fresh 20 seconds into a pack is the classic way to burn it.
- Hoarding into the last 2 km. Unused charges are not converted into time at the finish, so saving one past that point is saving nothing.
Six: traffic, three rules, and one recovery
Eighteen cars are always out there, in different colours and at different cruising speeds; slow ones outside, quick ones changing lane on their own.
- They do not yield. Touching one means you hit it, and you take the cut to 45%.
- A car you just hit goes briefly cold, so it will not judge you twice in a row — but do not sit there grinding against it.
- Their speeds are fixed, so the same stretch holds the same queue every time. On a second run you already know where to change lane.
What to do in the three seconds after a contact: straighten the car back into the lane first, then get on the power. Accelerating while still near the shoulder is how a single contact becomes two. Climbing from 45% back to 240 takes three or four seconds, and that is the real price of the crash.
Seven: arriving, being collected, and chasing a fastest time
A run ends one of two ways: cover 30 km and arrive, or lose the clock and be collected. Arriving records a time, lower is better, kept separately per road and only on this device.
If you want a fast number, work in this order:
- Finish all three roads once, without chasing speed, just to learn where the four checkpoints sit. One clean pass gives you landmarks for that road.
- Then pick one road and drive it clean: the goal is not speed but zero contacts and zero shoulder excursions. This pass is usually ten seconds quicker than the first.
- Only then spend charges to cut time. Chasing seconds with nitro before the run is clean is pouring water into a leaking bucket.
Of the three, City produces fast times most easily (dense but short corners, high tolerance), Ridge is the hardest (one crash usually writes off a run), and Coast sits between them. If you want a good number quickly, start with City.
Eight: playing on a phone
Hold the left or right half of the canvas to steer; the throttle is automatic. That reduces the mobile game to one job: controlling where you enter a corner. The round button at the lower right spends a charge, and you can tap it while steering.
The usual mobile mistake is holding one side down continuously, which parks you against a shoulder. Short taps, corrected often, keep the car in the middle-inner part of the lane.
Nine: where the numbers come from
To check them yourself, play one run and watch the HUD:
- The clock starts at 36 seconds; after the first checkpoint it becomes 36 minus time used, plus 20.
- The distance cell always reads "x.x / 30.0 km" — the number after the slash never changes. The four checkpoints sit at 4.8 / 10.8 / 17.4 / 24.0 km.
- Nitro is three pips; checkpoints refill them, nothing else does.
- After a crash speed falls to 45% of what it was, the shoulder pushes you to 95 km/h, and releasing the throttle settles you at 150 km/h.
The results screen gives you four figures: time, contacts, checkpoints cleared, and the fastest time for that road on this device.
Ten: questions
Why is holding full throttle slower? Because corners walk you toward the shoulder, so full throttle means losing speed in every bend. Speed in this game comes from not making mistakes, not from being brave with the pedal.
Can I save all my charges for the end? You can, but there is no reason to. A charge left at the finish does not convert into time.
Should I restart after a crash? Depends on the clock. More than thirty seconds left with less than 10 km to run: finish it. Twelve seconds left and just crashed: restarting is cheaper.
Is the same road different on a second run? No. The corner sequence is fixed and so is the traffic queue, so a second run is revision rather than a fresh deal.
Where are the records kept? In this browser only, separately for each of the three roads. Another device or cleared site data starts from zero.